

Using SQL Server ETL to Insert New Records and/or Update existing records.
This is the “Emp” table I created in my RunningTotals Database. I created the following fields and populated with 5 records
Next, I created an Excel Spreadsheet with a list of New Employees and a couple employees with Department Changes. Also, Agnes Perez was recently married and has since changed her Last Name to Perez-Smith. I named the Excel File “Rows to add and update.xlsx.”
view rawgistfile1.txt hosted with ❤ by GitHub
What we plan to do in the procedure is create new records in the “Emp” table and update existing records in the same table.
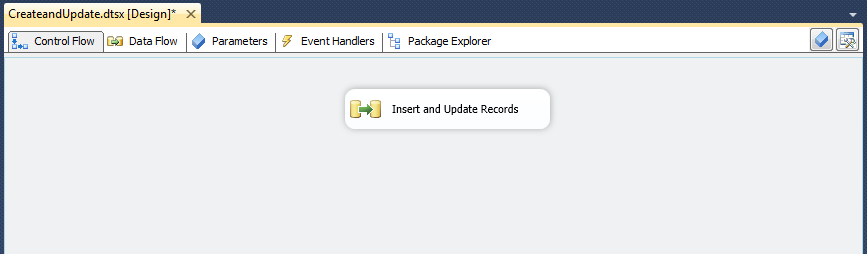
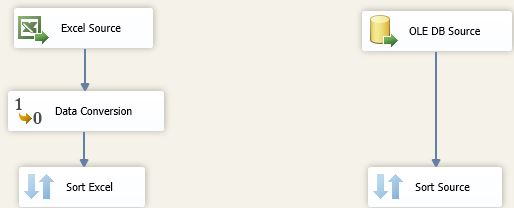
From a new SSIS project in SQL Server Data Tools (SSDS), add a new Data Flow Task to the Control Flow tab and rename “Insert and Update Records.”
Next we are going to create a Data Flow to query both the Excel Source File and the database table via OLE DB Source. Both sources will be sorted on the same column. We can then create a left outer join in order to determine which rows are new and which need only updating. We will use the conditional split function to determine if the ID is Null in the “Emp” table. If the row exists in the table and changes were made to the Excel file, changes will be updated in the database.
Double-click Insert and Update Records and you are taken to the Data Flow tab. Drag the Excel Source to the Data Flow window and configure it to access your Excel Source file.
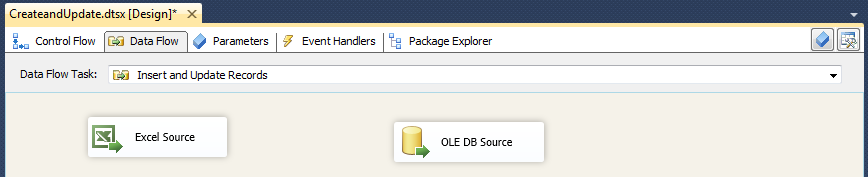
Now drag the OLE DB Source to the same window and configure it to access your “Emp” table from the Database. It should look similar to the following.
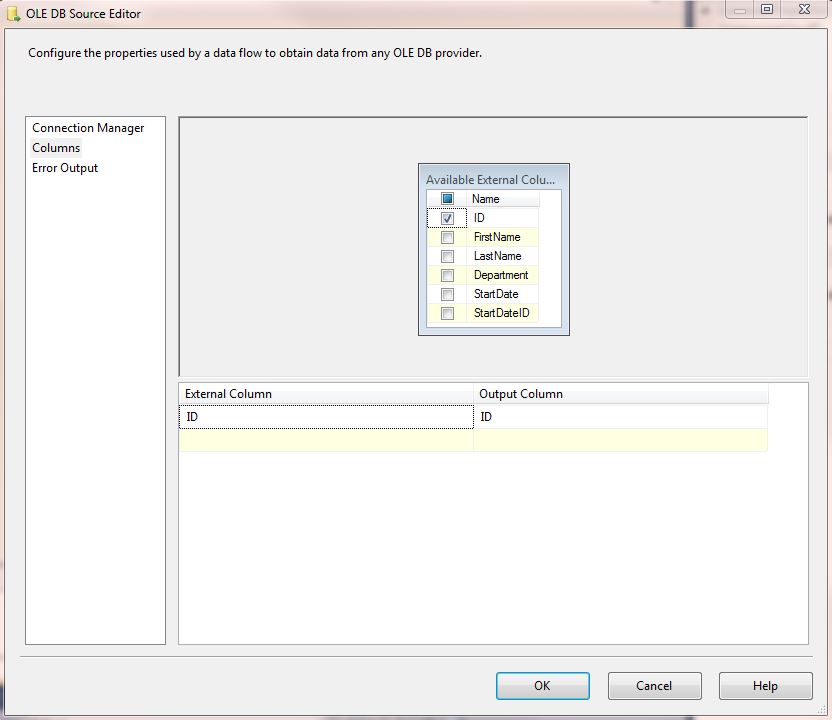
Modifying the OLE DB Source
Double-click the OLE DB Source and uncheck all of the boxes except ID. You just need ID because only this field will be used to determine if records currently exist in the in the database. If there is a matching record then there will be an Record Update. If no matching record, then a new record will be created.
Creating a Data Conversion
You Excel columns should be in the same data type as the database columns. If they are not the same data type you will get errors, but fear not. SSIS uses the Data Conversion to modify data types in your Excel Source or any other source for that mater.

Drag the Data Conversion onto the canvas under the Excel Source and connect the blue arrow between the two. (My arrows are blue, yours might be green)
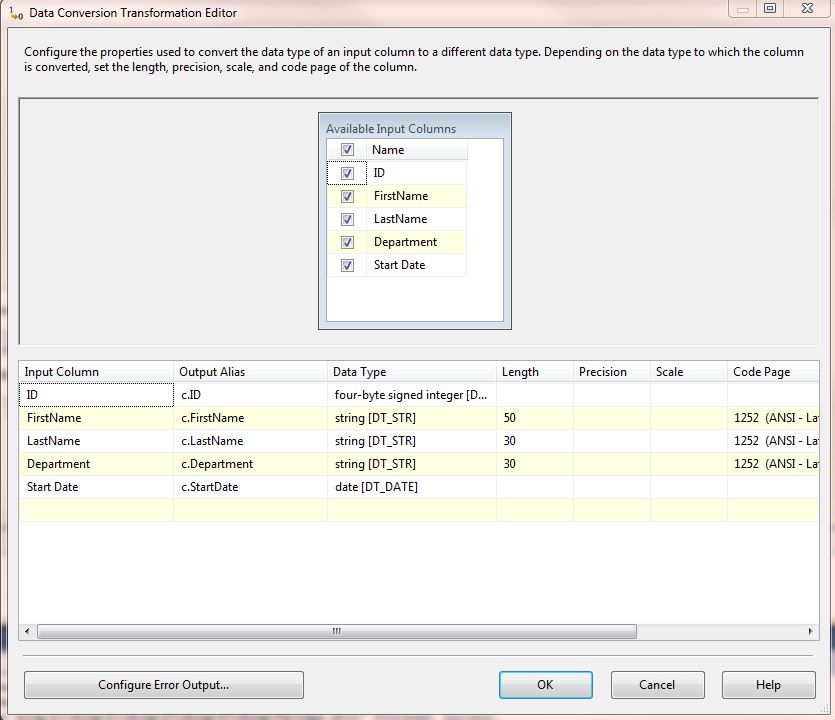
I had to change the “ID” to a “Four Bite Signed Integer” and the other 3 fields to the String Data Source. Double-click the Data Conversion and create an Output Alias (I like to rename mine with a small c and a period [c.Alias]). The “c” reminds me it was converted. Then select the correct Data Type. I also like to match up the length to the actual DB fields to cut down on errors when executing.
Sorting
The sources must both be sorted by the ID.
To Sort, drag “Sort” from the Common section in the tools menu and join with arrow to each. I always rename my Sorts to make things easier to read. “Sort Excel” and “Sort DB” for this procedure.
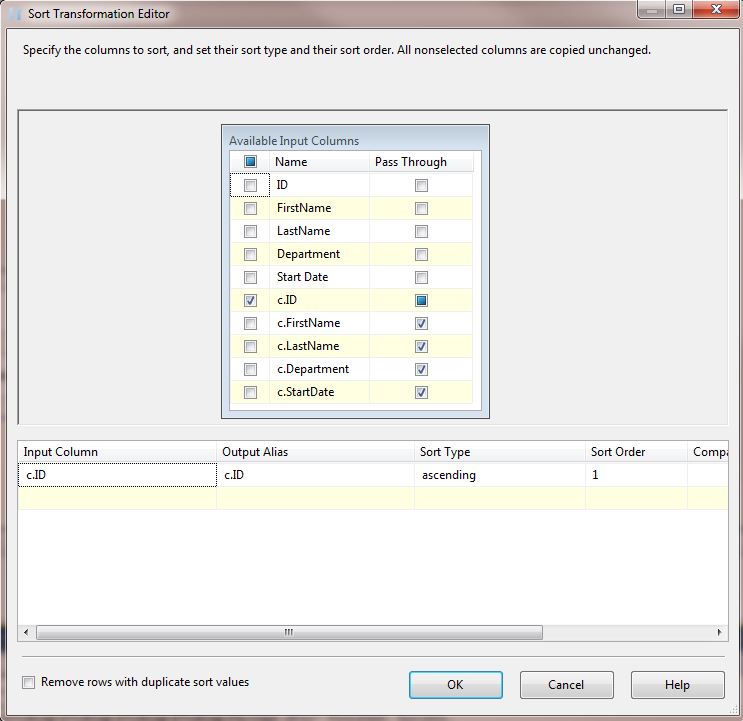
Double-click the Sort under the Excel Source and check the box on the new Data Conversion “c.ID” and uncheck the “ID.”
Pass Throughs should be set as follows.
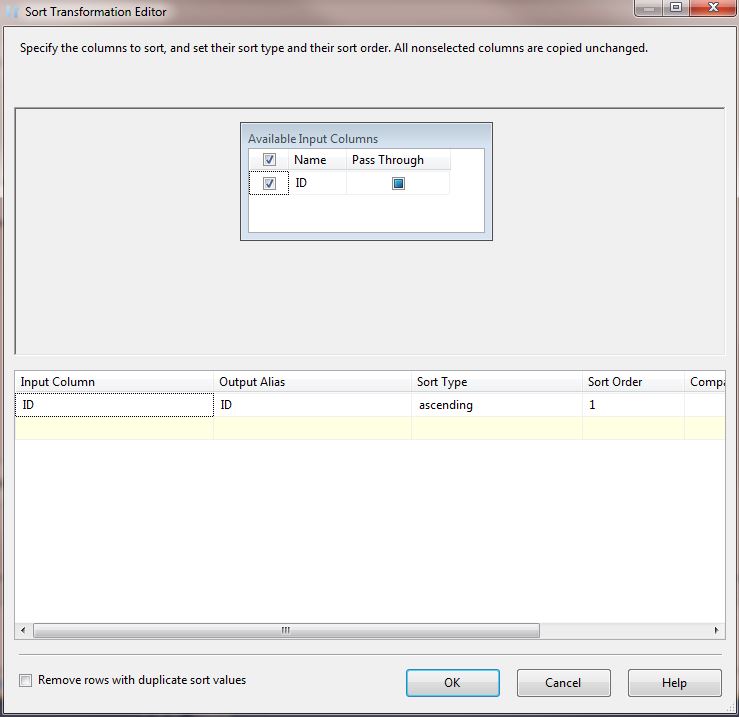
The “Sort DB” should be sorted in the same fashion. Set the Sort under the OLE DB to the ID. When finished, it should look like the following.
Setting the Merge Join
Now we will be setting the Outer Join and conditional statement to determine if each row is a new or existing row.
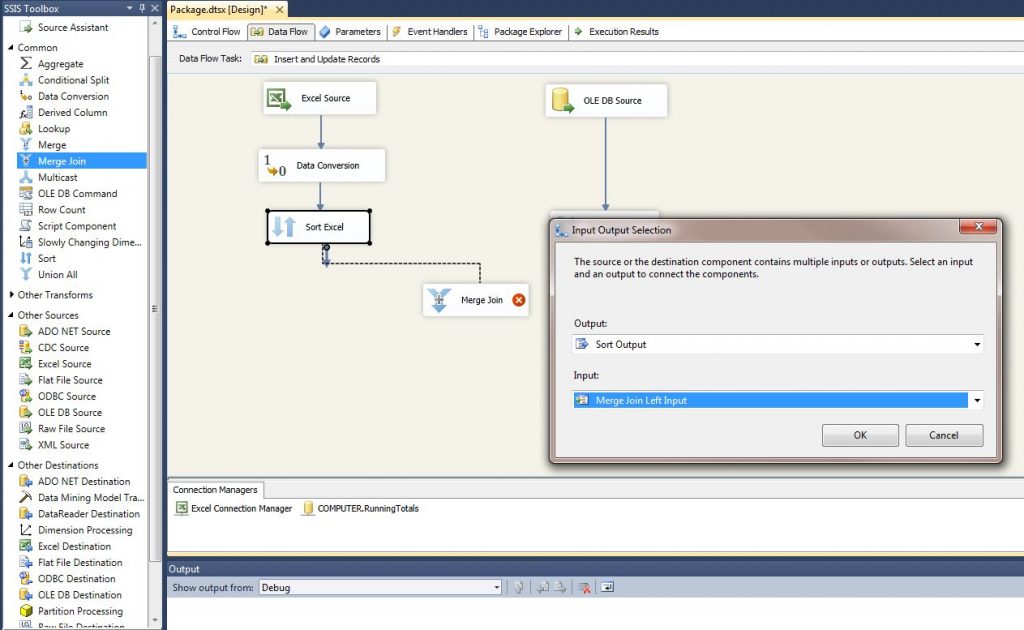
Drag the Merge Join into the window.
Drag the line from the Excel Sort to the Merge Join (this will be your Merge Left Input)
Now drag the line from the OLE DB Sort to the Merge Join.
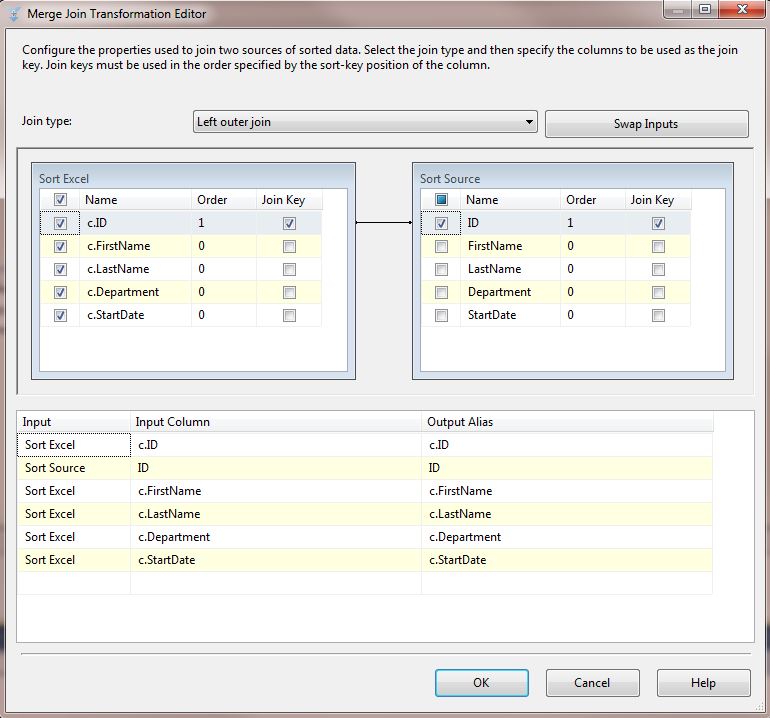
Double-click the Merge Join and select the ID from the DB Column. Select the c.ID, FirstName, LastName, and Department from the Excel Source. There should be a line connecting c.IDo of the “Sort Excel” to ID of the “SortDB.”
Be certain to change the Join Type to “Left outer join.”